WP Stuff
How to Enable Pinterest Analytics for WordPress
In the past few months, we have covered plenty of awesome Pinterest plugins you can take advantage of to make WordPress Pinterest-friendly. Adding the “Pin It” button to your posts and linking your website to your Pinterest profile are must-do. But you should also monitor how your business is performing on Pinterest. That’s where Pinterest Analytics comes into play. It is a handy feature that shows which of your posts are getting the most pins and repins.

In order to use Pinterest Analytics, you will need to enable it for your website. You don’t necessarily need to have a business presence to get started. As long as you verify your website, you are ready to go. The process is pretty simple as long as you are using the latest Pinterest design. Just click on your profile link and click the “edit” button next to your site to verify it.

You have two ways to verify your website. I personally prefer adding the META tag to the header of my sites. You could always download the verification file and install it on your server. Once your site is verified, you should be able to see the Analytics link when opening Pinterest’s profile menu in the upper right-hand corner of your screen.
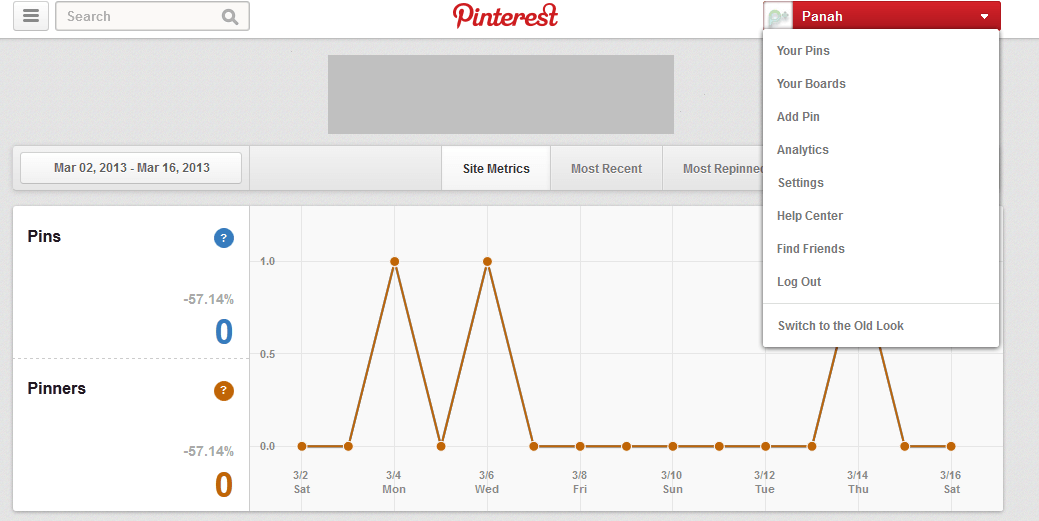
Pinterest Analytics has a responsive design, so make sure you maximize the page to find all its options conveniently. The tool shows you your most popular and recent pins/clicks. It allows you to export your data too. It is not perfect but if you are serious about Pinterest marketing, you need to have Pinterest Analytics enabled for your site.

